Building a Custom AI Gym-Transformation Workflow
I recently decided to take this step myself. After trying popular AI products like Sora and other OpenAI tools, I ran into roadblocks. These tools often have restrictions related to deepfakes and face manipulation, which limited what I could do.
That pushed me to build a custom setup that lets me take a photo of myself, change my outfit, adjust the background, and animate the image using AI. This post shares my experience, the tools I used, and practical tips for anyone wanting to explore similar AI-powered improvements.
Why I Needed a Custom AI Setup
Many AI tools today offer face editing and animation features. However, platforms like Sora and OpenAI’s products often restrict certain uses to prevent misuse, especially around deepfakes. These restrictions can block creative projects where you want to:
- Change your outfit digitally
- Swap or customize backgrounds
- Animate your face and body realistically
To fully express my vision, I needed more control. Building a custom setup allowed me to:
- Use my own photos without uploading them to third-party servers
- Apply outfit changes and background swaps locally or on trusted platforms
- Animate the image with AI models designed for personal use
This approach provided freedom and privacy.
Tools and Technologies I Used
Creating a custom AI transformation setup requires combining several tools. Here’s what worked well for me:
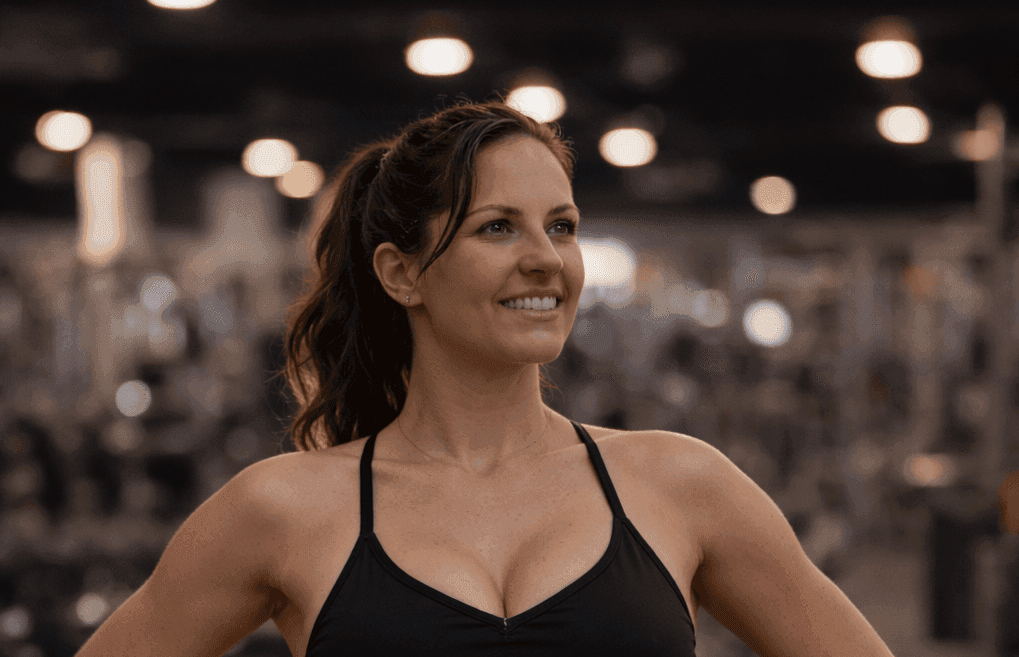
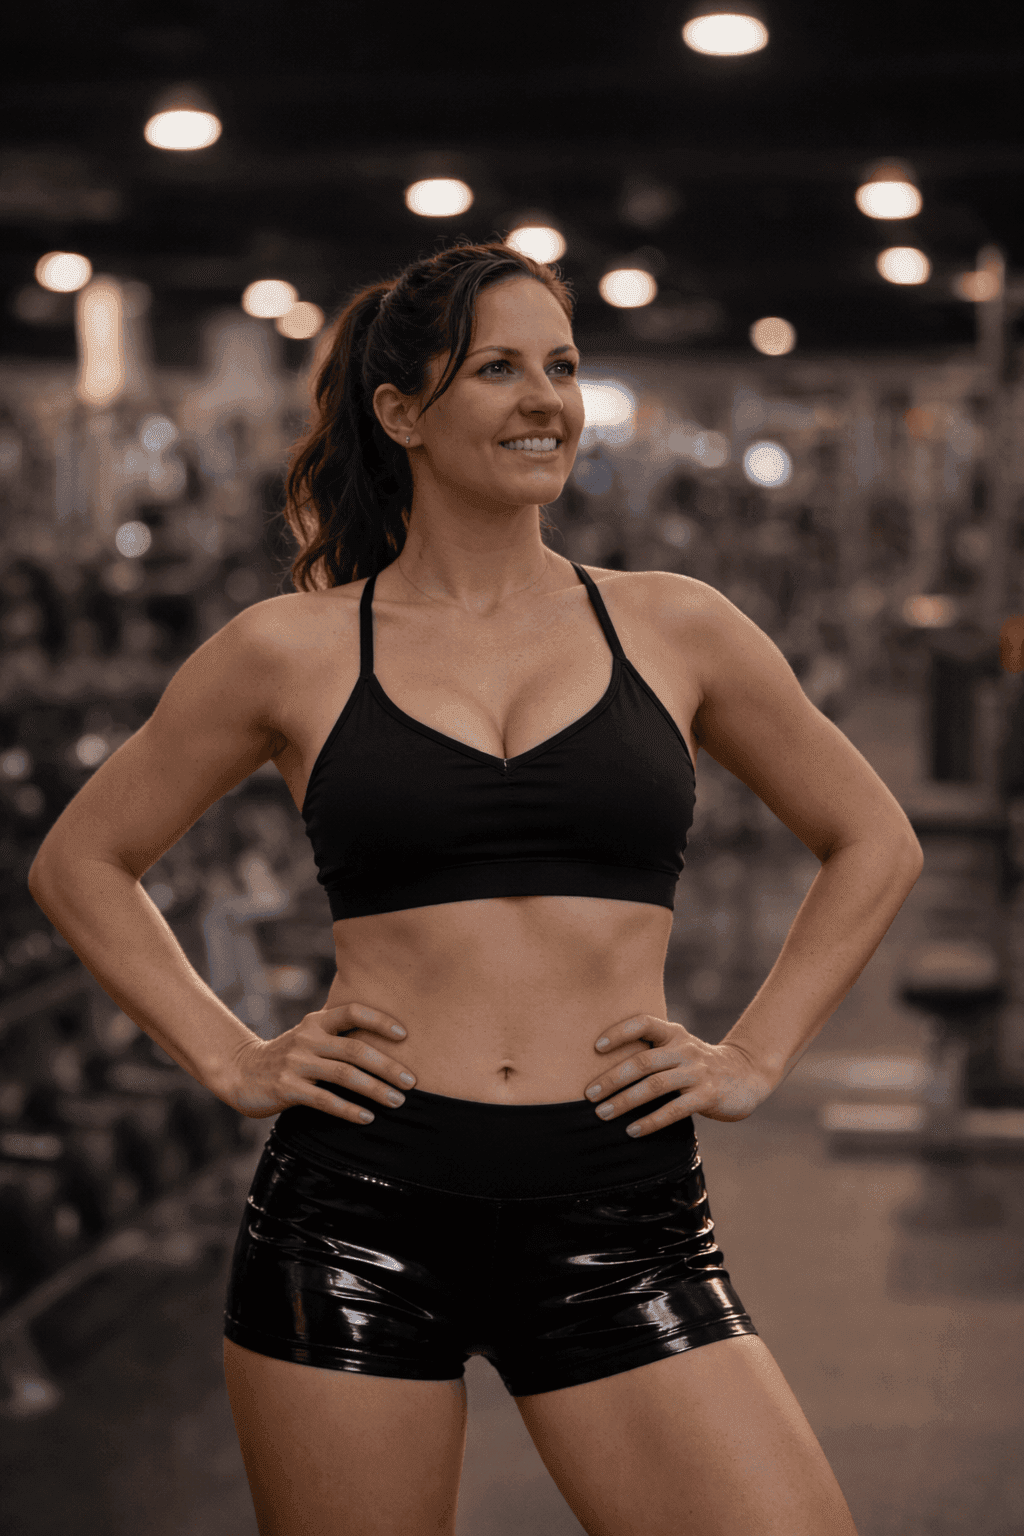
1. High-Quality Selfie Capture
A clear, well-lit photo from a smartphone camera. Natural light gives the models more detail to work with. Here's me:
2. Outfit Adjustment with Image-to-Image AI Models
For changing outfits, I used diffusion-based image-to-image models such as:
- Stable Diffusion with clothing prompts
- ControlNet for guided edits
I could swap colors or styles, or go fully different depending on the vibe.
(In this particular example, I didn’t change the outfit — but I often do in other posts.)
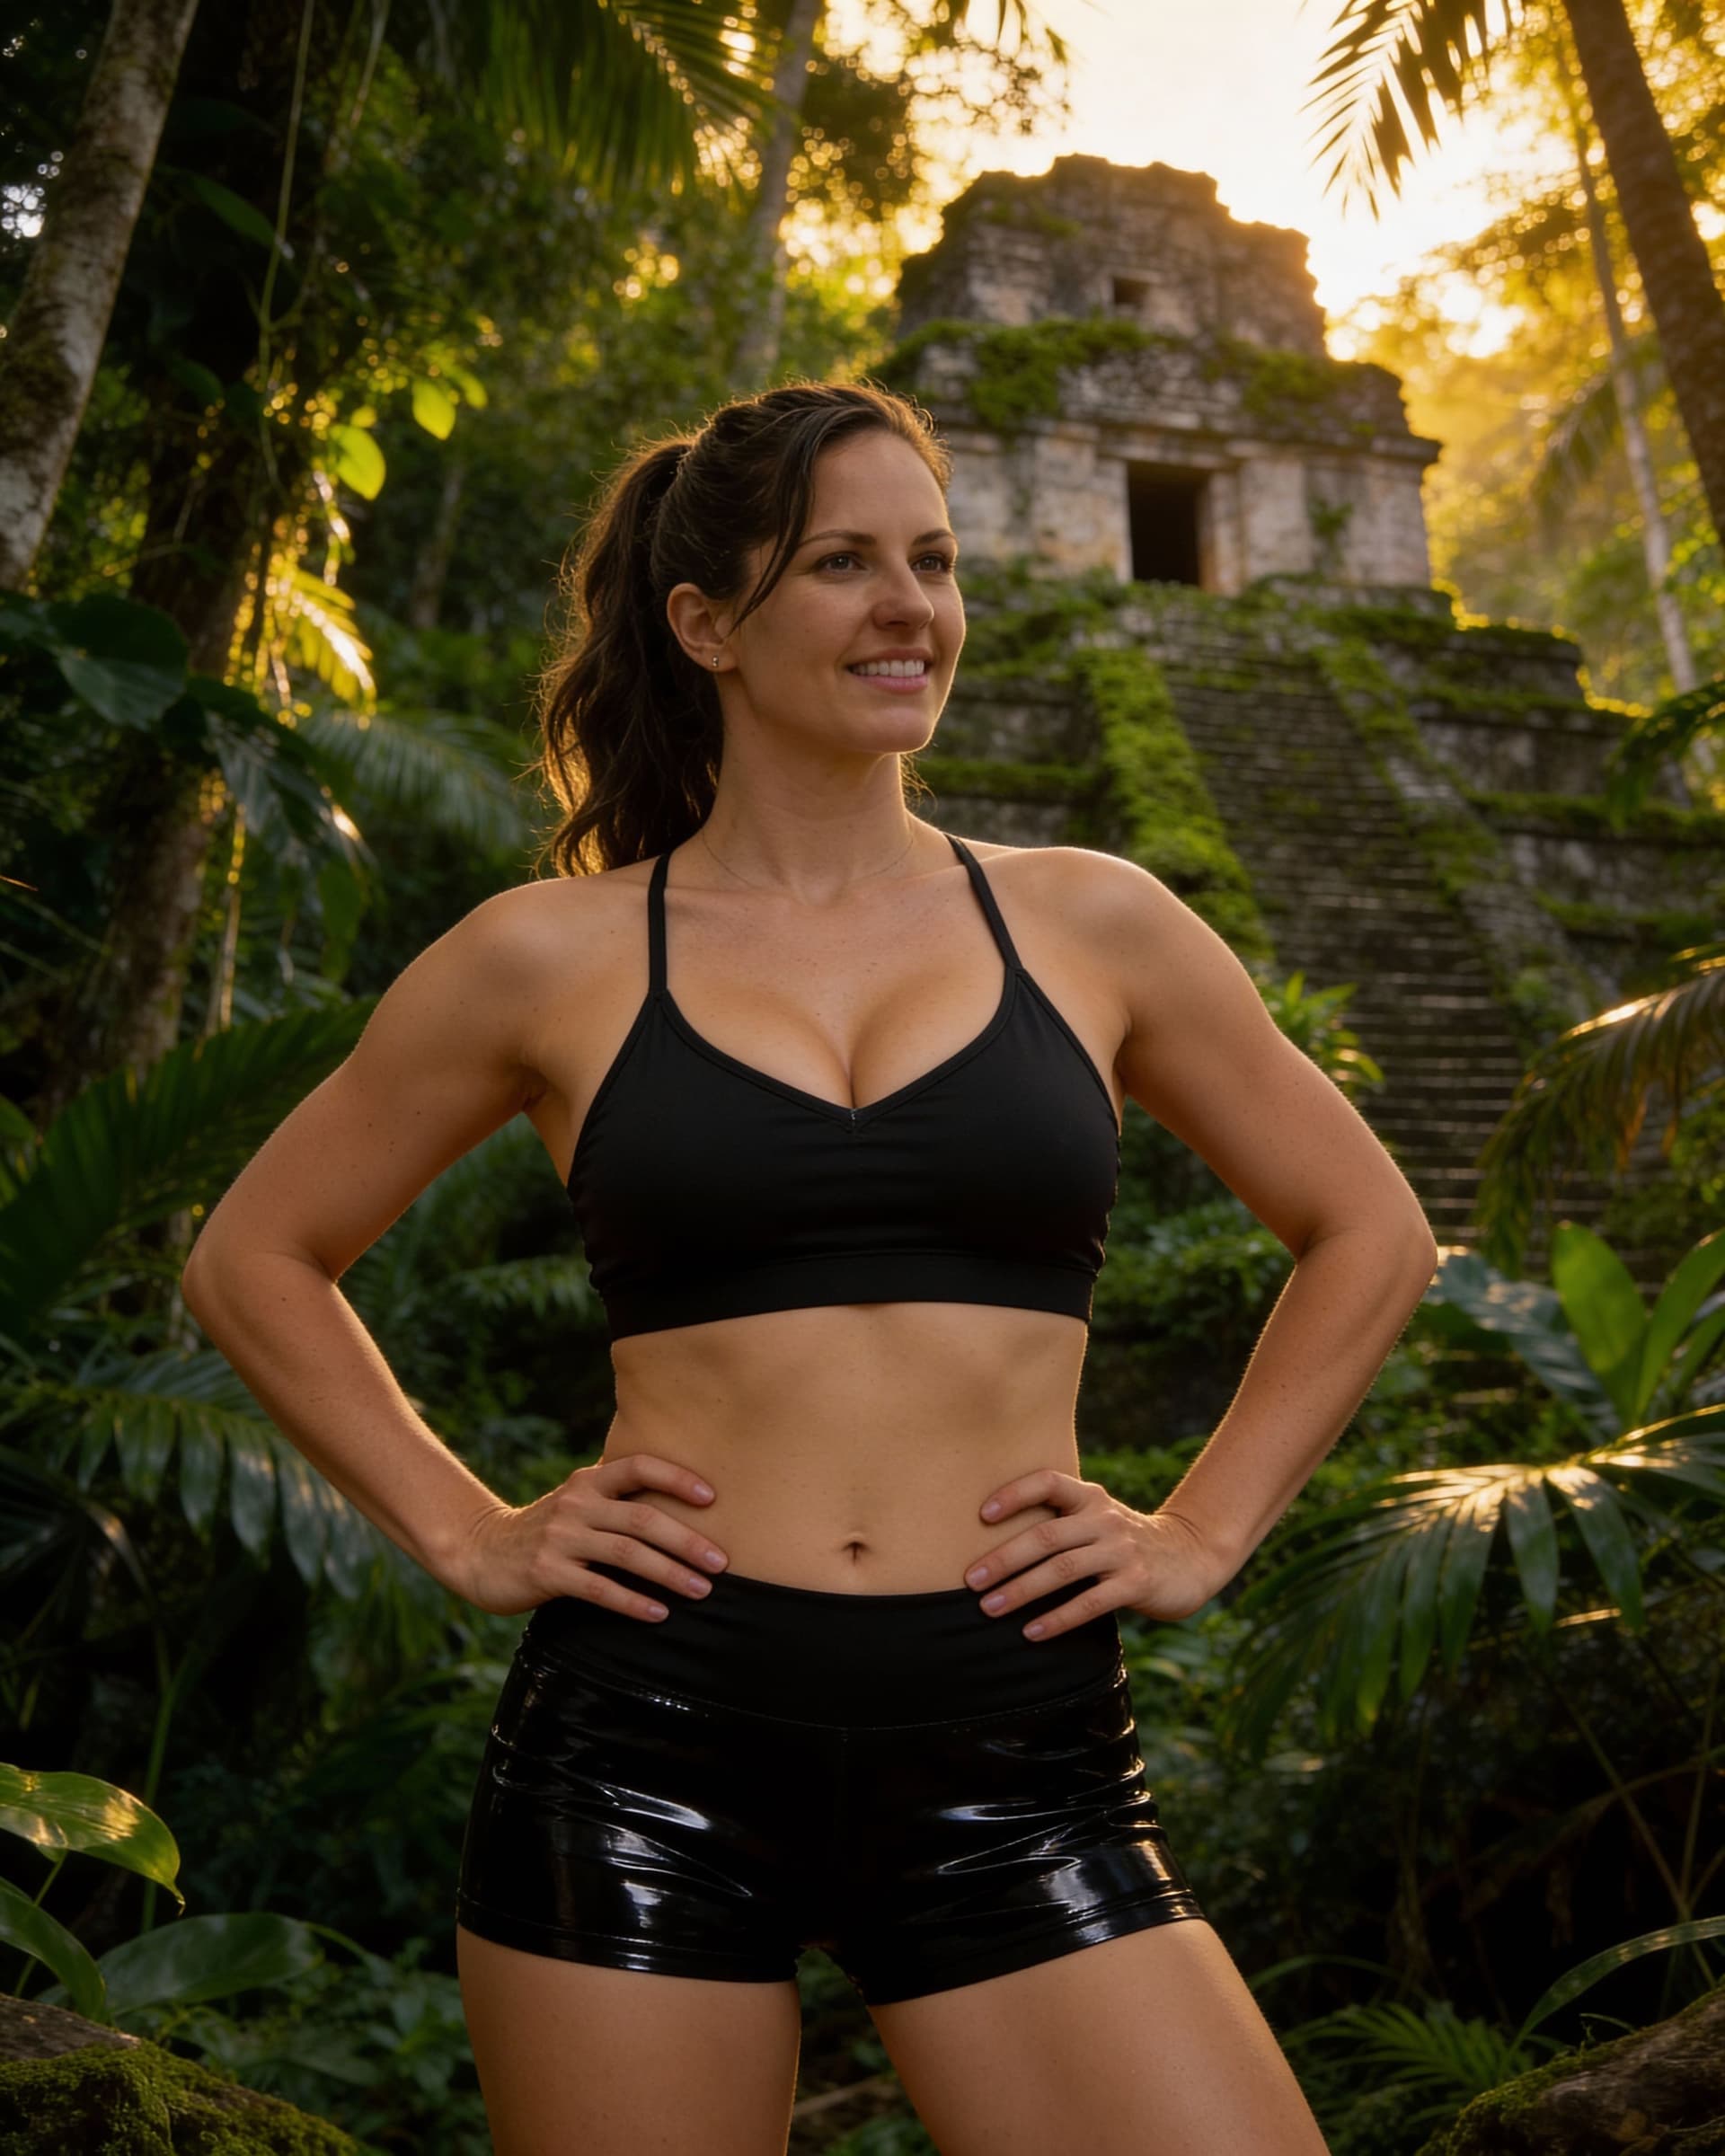
3. Background Replacement
Using segmentation tools, I isolated myself from the original background and replaced it with:
- Generated backgrounds
- Abstract designs
Tools used: Remove.bg or open-source segmentation models. Most image generation is great for the background generation. For background replacement, I ended up going back to InShot because it was so easy.
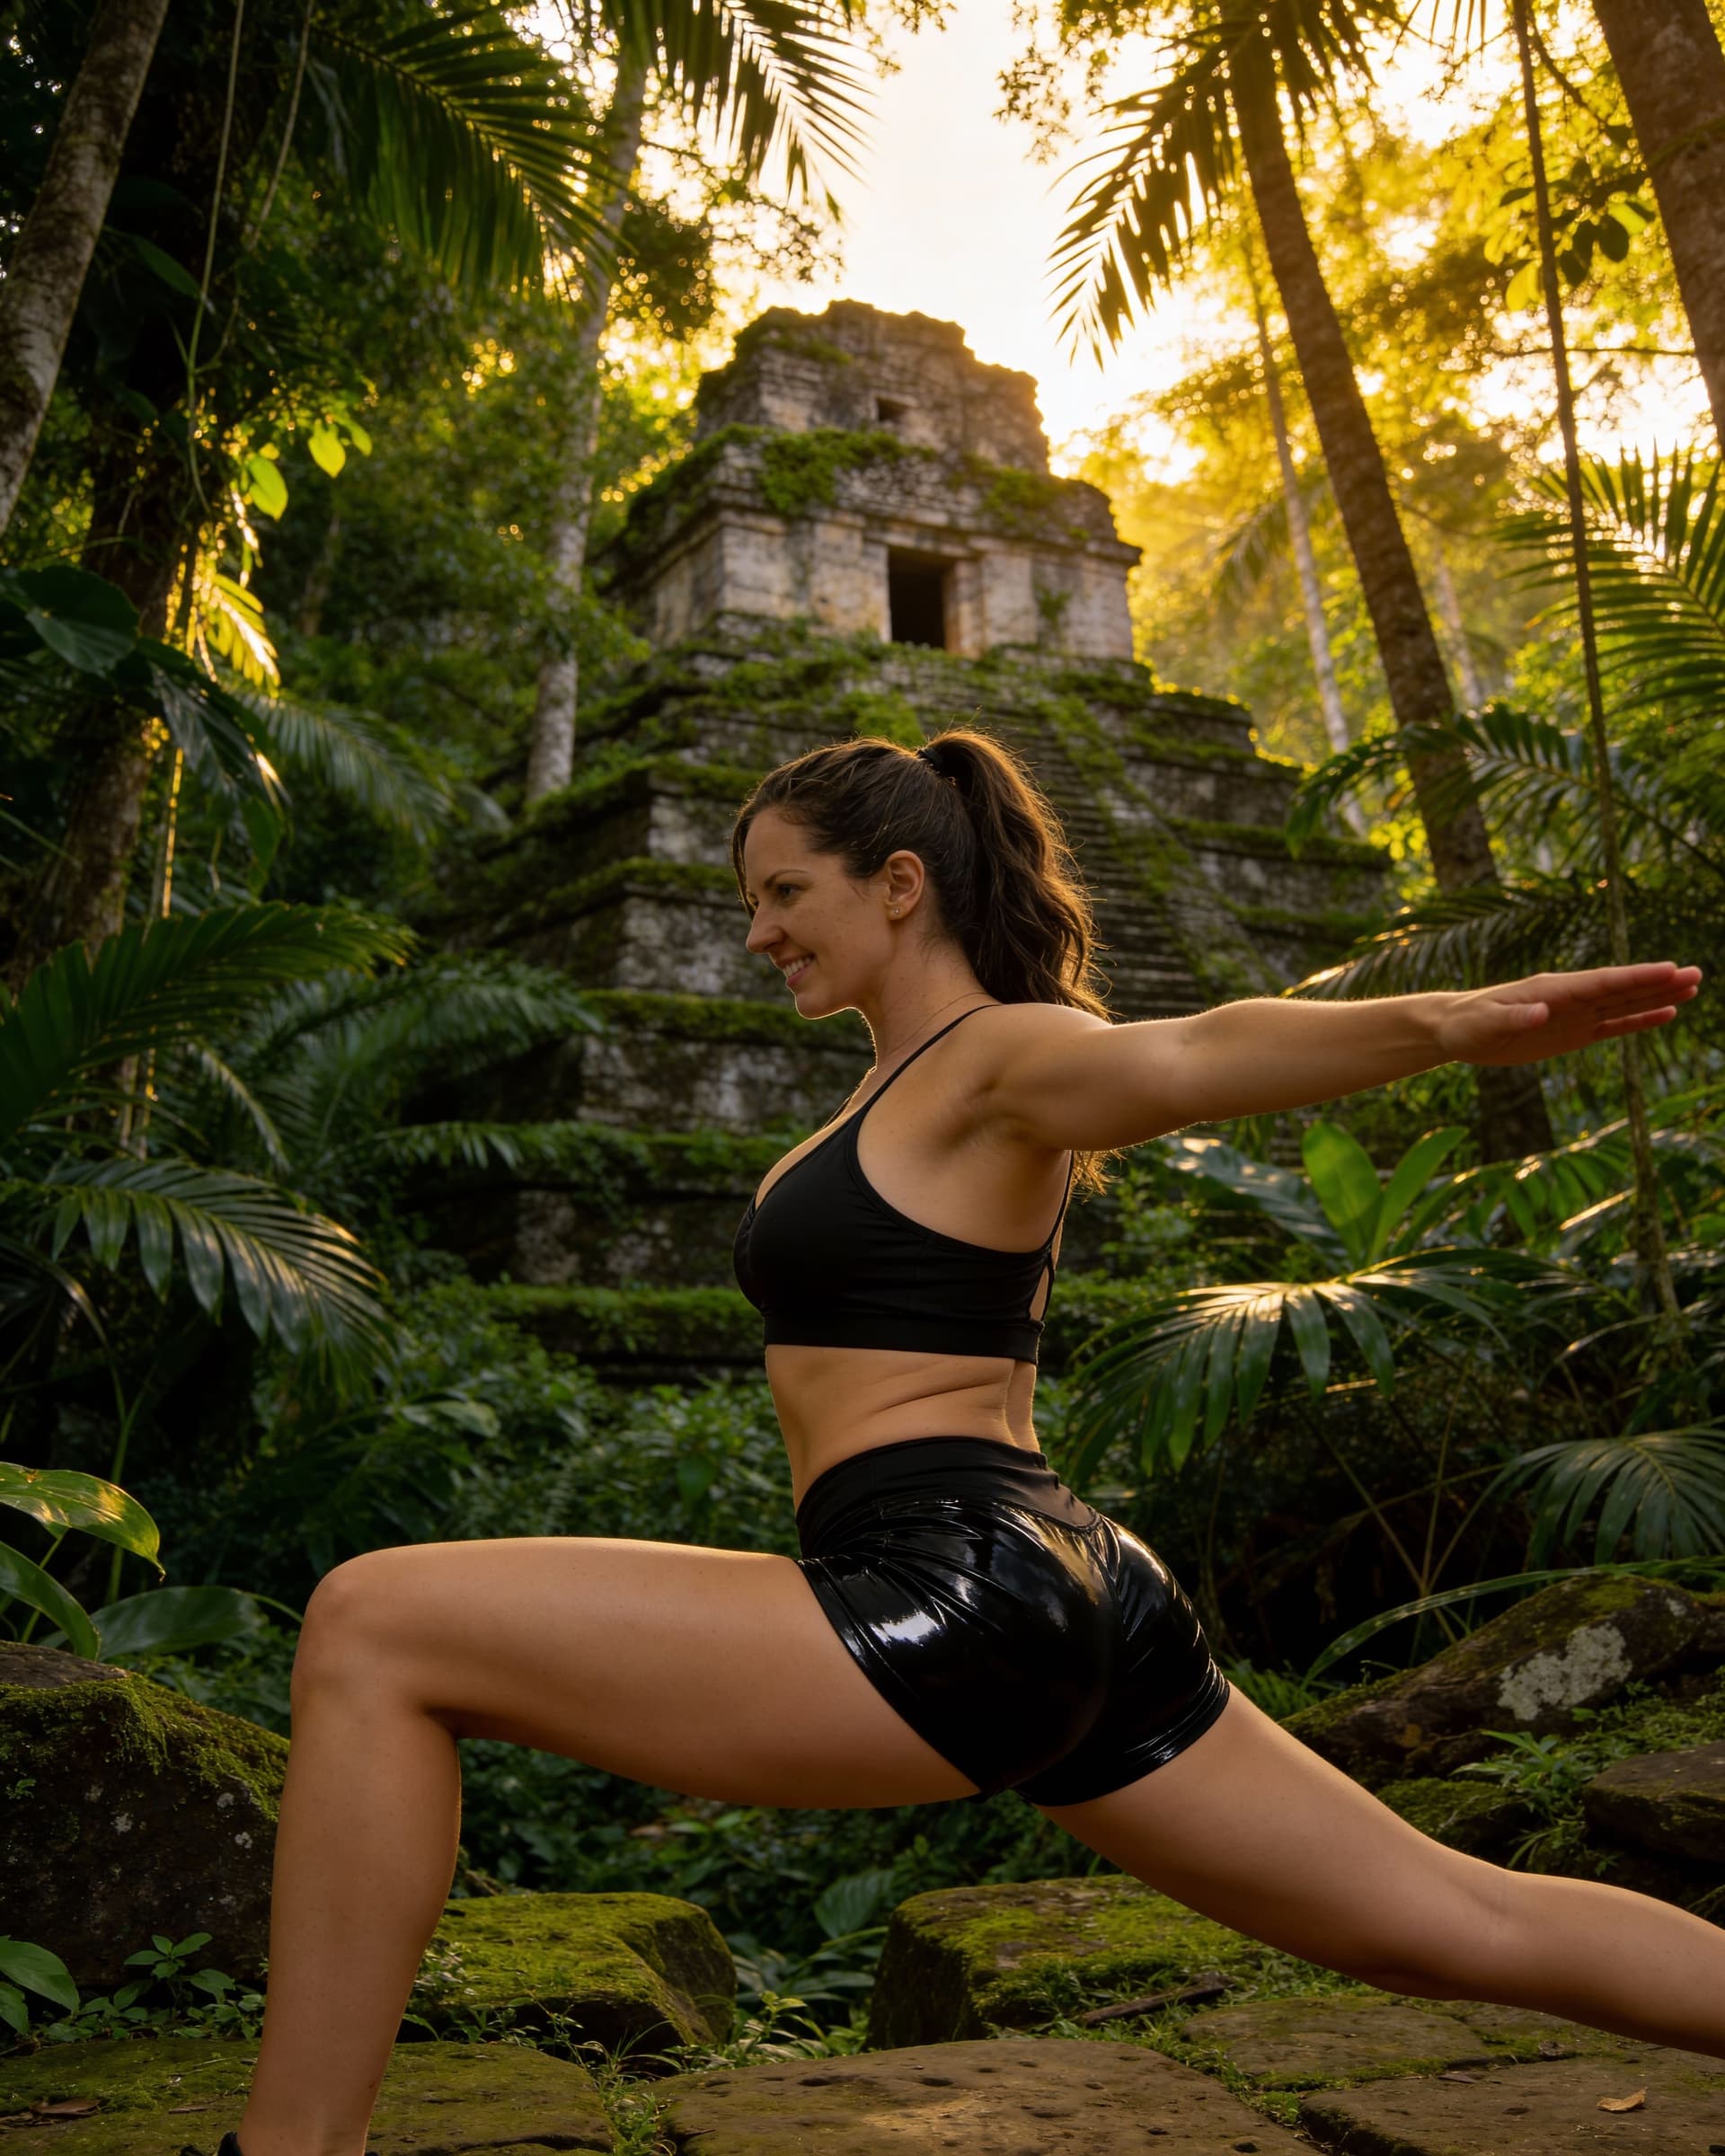
4. Animation
The most complex step. I typically:
- Sometimes generate a new pose using an image generation model
- Animate the pose with a motion model
I haven't found the best tool for this, because there is a lot of evolution in this space both technologically and policy-wise.
Here's one with me in a new pose:
Step-by-Step Workflow
-
Take a high-quality selfie
Natural light, neutral background. -
Remove the background
Use a segmentation tool to extract the subject. -
Change the outfit
Apply image-to-image edits with descriptive prompts. -
Replace the background
Insert your preferred scene. -
Animate the face and body
Change the pose and apply motion models. -
Fine-tune and export
Adjust lighting, color balance, and animation speed.
Challenges I Faced (and Solutions)
Maintaining Image Quality
Some models introduce artifacts.
Fix: Run the final output through a super-resolution tool.
Avoiding Unnatural Edits
Overly strong prompts can look fake.
Fix: Experiment with prompt phrasing and model strength settings.
Synchronizing Animations
Lip-sync tools can be finicky.
Fix: Test different audio clips and speeds.
Hardware Requirements
Local GPU processing can be demanding.
Fix: Use cloud GPUs when needed.
Why This Approach Matters
With a custom AI workflow you get:
- Privacy – your photos stay in your control
- Flexibility – full control over every step
- Creativity – no platform restrictions
- Learning – you understand how the pipeline works
Perfect for creators, hobbyists, or anyone who wants to experiment beyond preset apps.
Tips for Getting Started
- Begin with simple edits (background swaps) before moving to animation
- Use open-source models from Hugging Face or GitHub
- Join AI art communities for guidance
- Keep prompts clear and descriptive
- Take photos in consistent, well-lit conditions
Ethical Considerations
When working with face imagery:
- Only use photos you own or have permission for
- Don’t create misleading deepfakes
- Respect privacy when sharing your results